Notice: Undefined index: sith_hide_share in /www/sites/alloy.wiki/index/wp-content/themes/likegoogle/single.php on line 32
Deprecated: get_settings is deprecated since version 2.1.0! Use get_option() instead. in /www/sites/alloy.wiki/index/wp-includes/functions.php on line 4862
Introduction and symbolic representation of coaxiality
|
1. Coaxiality is a mechanical technical term representing positioning tolerance in the shape and position tolerances of parts. The relevant elements are the axis and the axis, the hole and the hole, and the axis and the hole. The same straight line or concentricity is required, which means control How much the actual axis deviates from the reference axis! 2. Its symbol is expressed as two concentric circles: ◎ |
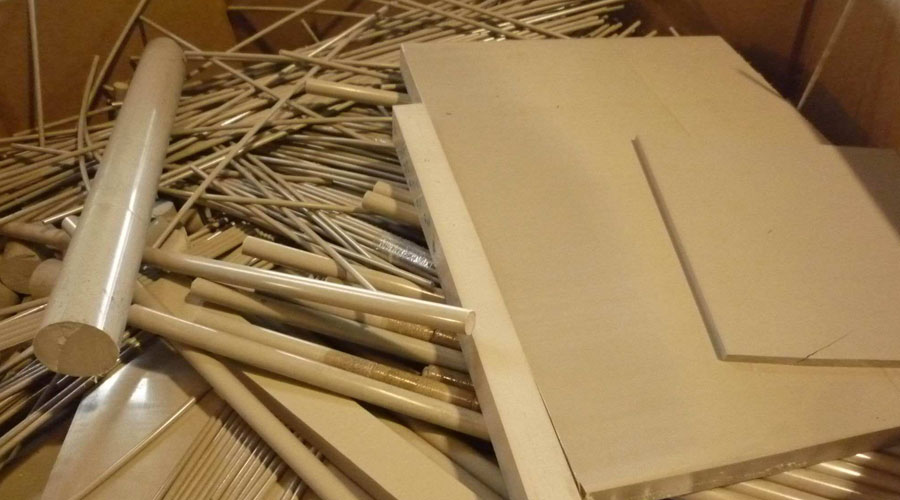
Possible adverse consequences of large coaxiality errors
Coaxiality error is the misalignment of the center of the circle reflected in the cross section. If the parts with large coaxiality errors are installed and used, they may not be assembled during assembly. The assembled machine may produce vibration, shaking, periodic noise, unstable suction, damage to machine parts, and may cause serious damage. A series of mechanical ills such as safety accidents, so the control of the coaxiality of components has always been an important item of quality inspection of PTJ Shop Plastics Machining.
Types of parts for coaxiality measurement
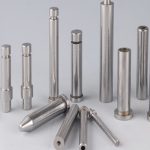
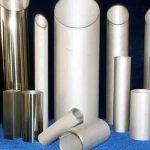
The concentricity measurement must be made of rotating parts, such as shafts, gears, bushings and other parts.
Testing equipment
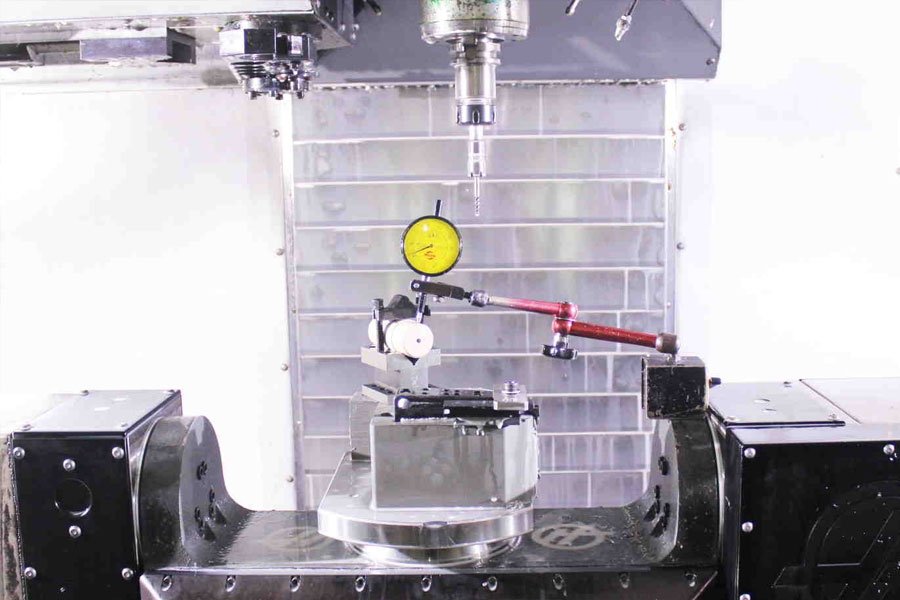
The coaxiality is relatively difficult to measure. The instruments we use include imagers, three-coordinates, deflection meters, V-shaped irons, dial indicators, and special fixtures.
Measurement methods
The coaxiality detection is a test item that we often do in the measurement work. The following is a brief introduction to the coaxiality detection method of the shaft and gear produced by the company.
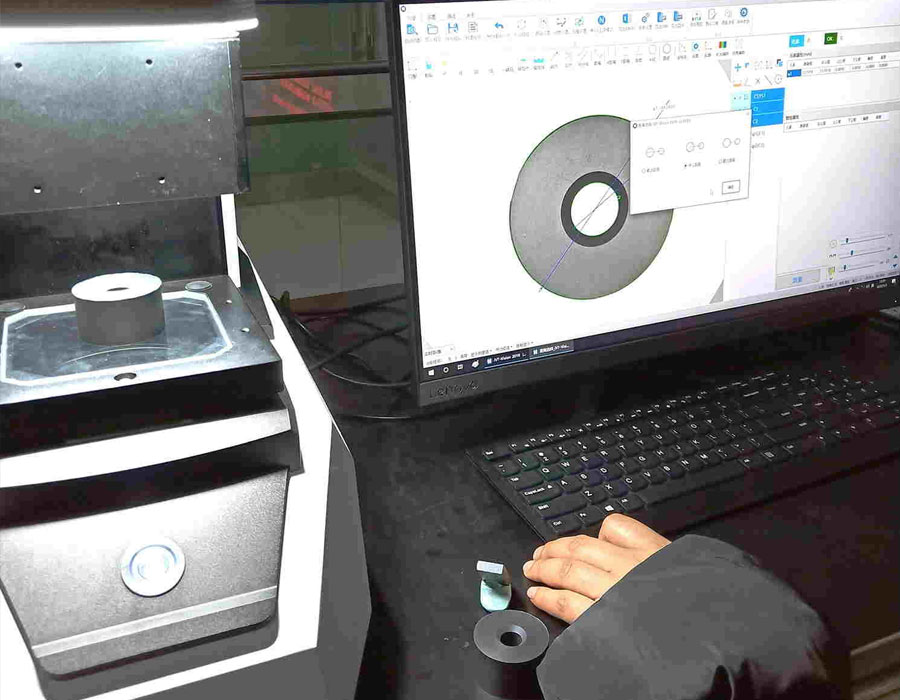
1.Method for measuring coaxiality with imager
- 1. Turn on the computer and place the tested part on the workbench
- 2. Open the flash button in the computer and import the program
- 3. Click the outer circle and inner hole of the measured object with the mouse, and click the measurement button
- 4. Read the coaxiality data, record it, and fill in the test report!
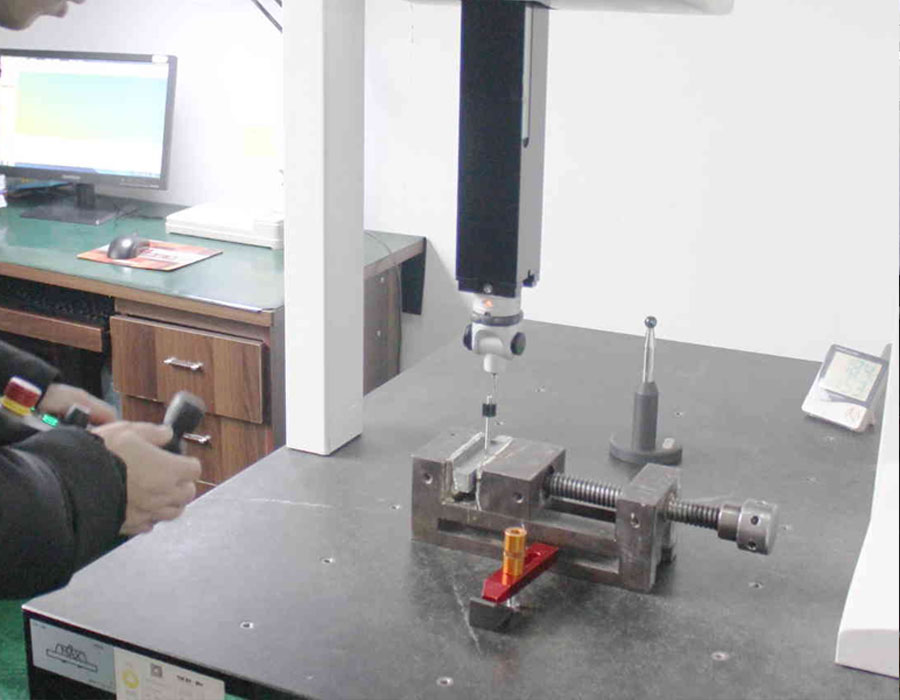
2. Method of measuring coaxiality with three coordinates(CMM)
- 1. Identify the drawing first and find the benchmark.
- 2. Fix the peek machining part to be measured on the three coordinate platform and fix it firmly.
- 3. Turn on the three coordinates, calibrate the head, turn on the computer, find the corresponding measurement software, open the software, and then program.
- 4. Start measuring products, establish a coordinate system, and measure the outer circle.
- 5. Define the benchmark, evaluate the measured cylinders, and then you can see the coaxiality.
- 6. Export the test report.
3.Method for measuring coaxiality with yaw
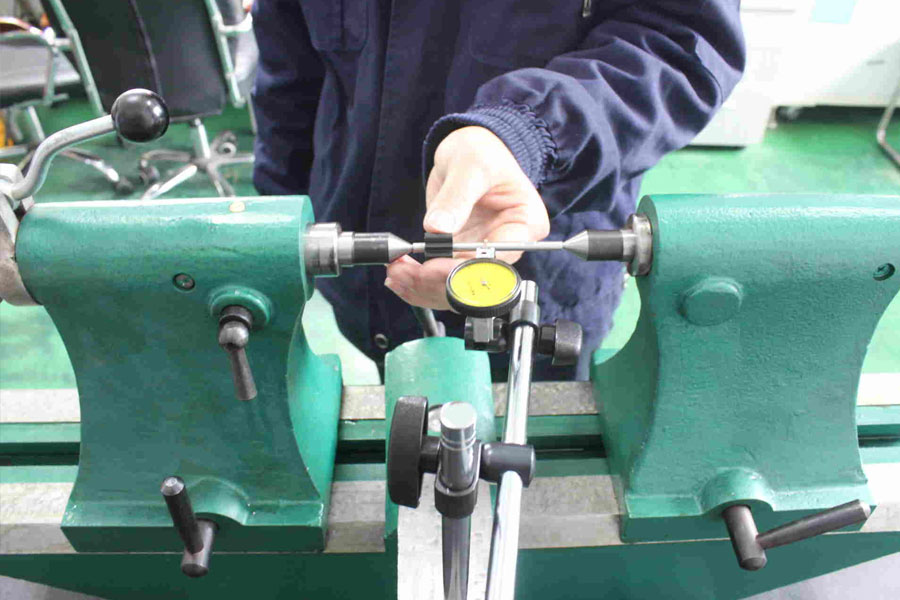
- 1. Wash the test piece with warm water and wipe it with a dry cloth.
- 2. Adjust the distance between the two tips of the yaw, which is about 8 mm shorter than the shaft part to be measured. Align the center hole of the end of the test piece with the fixed tip of the yaw. Drag the workpiece with your left hand and compress the deviation with your right hand. The handle of the moving tip at the other end of the pendulum makes the moving tip shrink back. The left and right hands cooperate well, and push the moving tip into the center hole on the other end of the workpiece!
- 3. Rotate the object to be tested by hand, and turn it easily, but the gap should not be too large. Make sure that the object is tight. Otherwise it will cause inaccurate test results. If you need to adjust the elasticity, please refer to Article 2 above.
- 4.Install the dial indicator, base, and stand, and adjust the dial indicator so that the probe is in contact with the measured outer surface of the workpiece, and there is a compression of 0.5–1 circle.
- 5. Slowly and uniformly rotate the workpiece by hand for one week, and observe the fluctuation of the dial indicator, take the difference between the reading Mmax and the reading Mimin as the coaxiality error of the section, and record the data.
- 6. Move the dial indicator bracket, select an outer circle, rotate the part to be measured, and measure four different positions according to the method described above. Take the MAX value of the difference between the reading Mmax and the reading Mimin as the part Coaxiality error.
- 7. Complete the test report and organize the experimental equipment.
4. Method for detecting coaxiality with V-shaped iron
- 1. Wash the test piece with warm water and wipe it with a dry cloth.
- 2. Prepare two V-shaped blocks with the same height and the same cutting edge. Place the prepared V-shaped blocks on a marble slab or on a very flat machine table.
- 3. Put the benchmark of the workpiece to be tested in the V-shaped groove of the instrument
- 4. Install the dial gauge, table base, and meter stand, adjust the dial gauge so that the probe is in contact with the measured outer surface of the workpiece, and there is a compression of 0.5 — 1 circle
- 5. Press down with your hands and slowly and uniformly rotate the workpiece for one week, and observe the fluctuation of the dial indicator, take the difference between the reading Mmax and the reading Mimin as the coaxiality error of the section and record the data.
- 6. Then move the table base, select an outer circle, rotate the part to be measured, measure four different positions according to the above method, and take the MAX value in the difference between the reading Mmax and the reading Mimin as the same. Axiality error
- 7. Complete the test report and organize the experimental equipment.
5. Method for detecting coaxiality of special tooling
Data calculation method and report filling
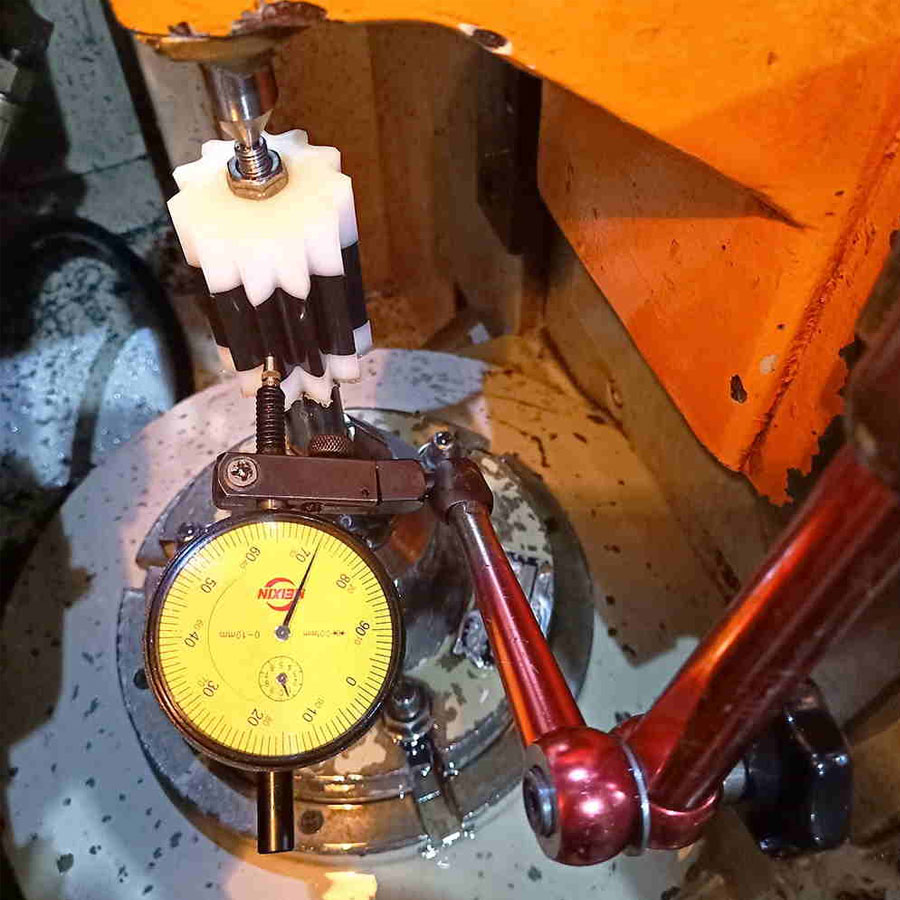
- 1. First calculate the coaxiality error value on a single measurement section, that is, Δ = Mmax-Mmin.
- 2. Take the MAX value of the coaxiality error value measured on each section as the coaxiality error of the part.
- 3. Complete the measurement according to the above steps and fill in the relevant information and measurement results of the DUT into the corresponding test report, and use this as a reference to determine whether the coaxiality error of the part is acceptable.
Link to this article: Detecting Coaxiality Method Of Machined PEEK Parts
Reprint Statement: If there are no special instructions, all articles on this site are original. Please indicate the source for reprinting:https://www.cncmachiningptj.com/,thanks!
 PTJ® provides a full range of Custom Precision cnc machining china services.ISO 9001:2015 &AS-9100 certified. 3, 4 and 5-axis rapid precision CNC machining services including milling, turning to customer specifications,Capable of metal & plastic machined parts with +/-0.005 mm tolerance.Secondary services include CNC and conventional grinding, drilling,die casting,sheet metal and stamping.Providing prototypes, full production runs, technical support and full inspection.Serves the automotive, aerospace, mold&fixture,led lighting,medical,bicycle, and consumer electronics industries. On-time delivery.Tell us a little about your project’s budget and expected delivery time. We will strategize with you to provide the most cost-effective services to help you reach your target,Welcome to Contact us ( [email protected] ) directly for your new project.
Link to this article:Detecting Coaxiality Method Of Machined PEEK Parts
Reprint Statement: If there are no special instructions, all articles on this site are original. Please indicate the source for reprinting:Alloy Wiki,thanks!^^


